We were looking to implement a variant of the %sql magic command in Jupyter without using the default sqlalchemy module (in our case, just using psycopg2 to connect to a local server - a StackQL postrges wire protocol server).
Create the extension module
We named our extension and cell magic command stackql, so start by creating a file named stackql.py. We made this file in a directory name ext in the Jupyter working directory.
Write the magic extension
Magic commands can be line-based or cell-based or line-or-cell-based; in this example, we will use line-or-cell-based magic, meaning the decorator %stackql will be used to evaluate a line of code and the %%stackql decorator will be used to evaluate the entire contents of the cell it is used in.
The bare-bones class and function definitions required for this extension are described below:
Create a Magic Class
We will need to define a magics class, which we will use to define the magic commands. The class name is arbitrary, but it must be a subclass of IPython.core.magic.Magics. An example is below:
from IPython.core.magic import (Magics, magics_class, line_cell_magic)

@magics_class
class StackqlMagic(Magics):

    @line_cell_magic
    def stackql(self, line, cell=None):
        if cell is None:
            # do something with line
        else:
            # do something with cell
        return results
Load and register the extension
To register the magic functions in the StackqlMagic class we created above, use a function named load_ipython_extension, like the following:
def load_ipython_extension(ipython):
    ipython.register_magics(StackqlMagic)
Complete extension code
The complete code for our extension is shown here:
from __future__ import print_function
import pandas as pd
import psycopg2, json
from psycopg2.extras import RealDictCursor
from IPython.core.magic import (Magics, magics_class, line_cell_magic)
from io import StringIO
from string import Template

conn = psycopg2.connect("dbname=stackql user=stackql host=localhost port=5444")

@magics_class
class StackqlMagic(Magics):

    def get_rendered_query(self, data):
        t = Template(StringIO(data).read())
        rendered = t.substitute(self.shell.user_ns)
        return rendered

    def run_query(self, query):
        cur = conn.cursor(cursor_factory=RealDictCursor)
        cur.execute(query)
        rows = cur.fetchall()
        cur.close()
        return pd.read_json(json.dumps(rows))

    @line_cell_magic
    def stackql(self, line, cell=None):
        if cell is None:
            results = self.run_query(self.get_rendered_query(line))
        else:
            results = self.run_query(self.get_rendered_query(cell))
        return results

def load_ipython_extension(ipython):
    ipython.register_magics(StackqlMagic)
Load the magic extension
To use our extension, we need to use the %load_ext magic command referencing the extension we created.
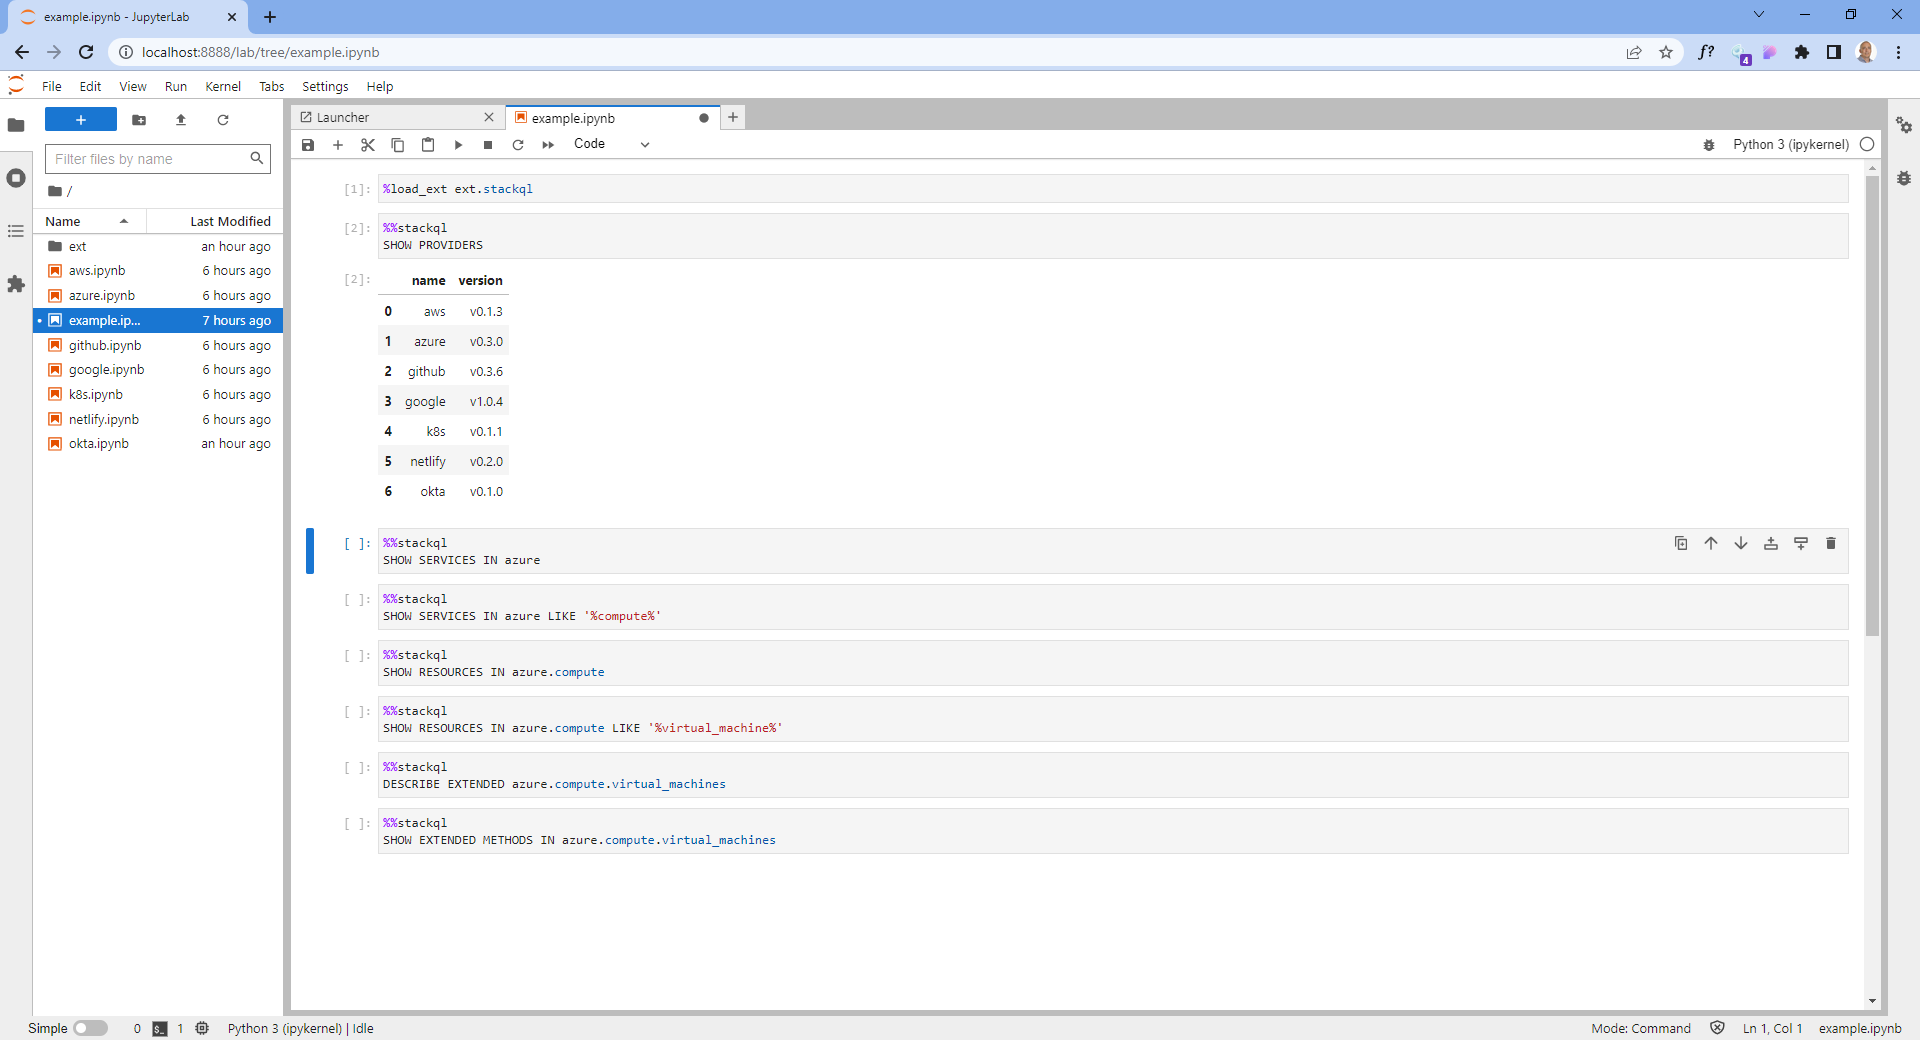
%load_ext ext.stackql
Note that since our extension was a file named stackql.py in a directory named ext we reference it using ext.stackql.
Use the magic function in a cell
To use the magic function in a cell (operating on all contents of the cell), we use the %% decorator, like:
%%stackql
SHOW SERVICES IN azure
Use the magic function on a line
To use the magic function on a line, we use the % decorator, like:
%stackql DESCRIBE aws.ec2.instances
In our example, we implemented variable expansion using the "batteries included" String templating capabilities in Python3. This allows for variables to be set globally in our notebooks and then used in our queries. For example, we can set a variable in a cell like:
project = 'stackql-demo'
zone = 'australia-southeast1-a'
Then use those variables in our queries like:
%%stackql
SELECT status, count(*) as num_instances
FROM google.compute.instances
WHERE project = '$project'
AND zone = '$zone'
GROUP BY status
An example is shown here:
The complete code can be found at stackql/stackql-jupyter-demo.
if you have enjoyed this post, please consider buying me a coffee ☕ to help me keep writing!

